December 07, 2009

Speedy bronzy warriors

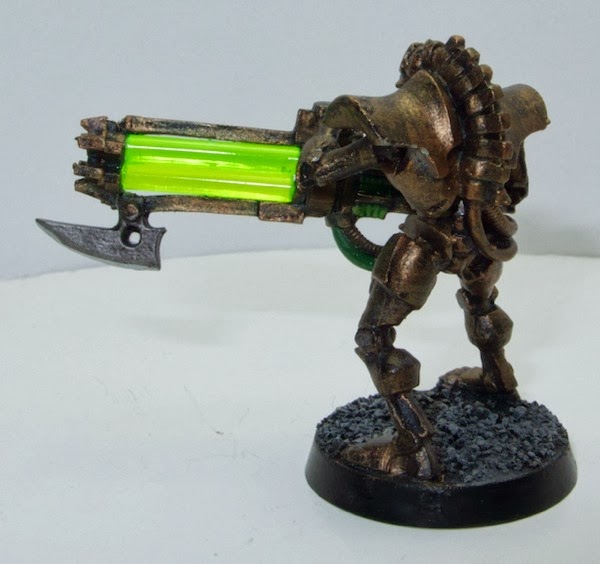
I’ve had a bunch of warriors with me for a while (28 from a battleforce), and wanted to paint them relatively quickly. So - post assembly, I followed the below steps, doing all 28 at a time for any given step (note: the pics are not all of the same mini).

Step 1 - black undercoat (Chaos Black Spray).

Step 1

Step 2: dwarf bronze drybrush. No need to be subtle here, as the entire model needs to be painted, so the Citadel Large Drybrush did the trick nicely.
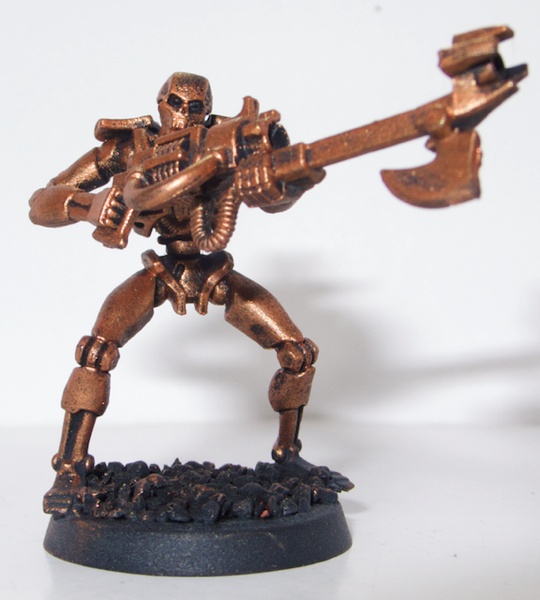
Step 2

Step 3: Thraka Green wash with the Citadel Wash Brush. Again, going all over the model.

Step 4: Boltgun Metal over the blade (Citadel Standard Brush).

Step 5: Mithril Silver over the edge of the blade (Citadel Detail Brush).

Step 6: Badab Black wash over the blade (Citadel Wash Brush).

Step 7: Snot Green over the gun’s tube (Citadel Standard Brush).

Step 8: Cover the base with diluted Chaos Black to hide the bronze (Citadel Basecoat Brush).

Step 9: drybrush of Fortress Grey over the base (Citadel Medium Drybrush).

Steps 3-9

Step 10: a lighter drybrush of Bone White over the base (Citadel Medium Drybrush).

Step 11: coat of Chaos Black on the side of the base (Citadel Basecoat Brush).

Steps 10-11

Step 12: Scorpion Green over the gun (Citadel Detail Brush).

Step 13: A dot of Scorpion Green over each eye (Citadel Fine Detail Brush).

Steps 12-13

Close-up…

Close-up

Step 14: wash of Thraka Green over the gun’s Scorpion Green (Citadel Wash Brush).

Step 15: Gloss varnish over the gun’s tube (Vallejo Model Color).

Step 16: Matt varnish over the rest of the mini (Vallejo Model Color), ignoring the base (can’t be bothered).
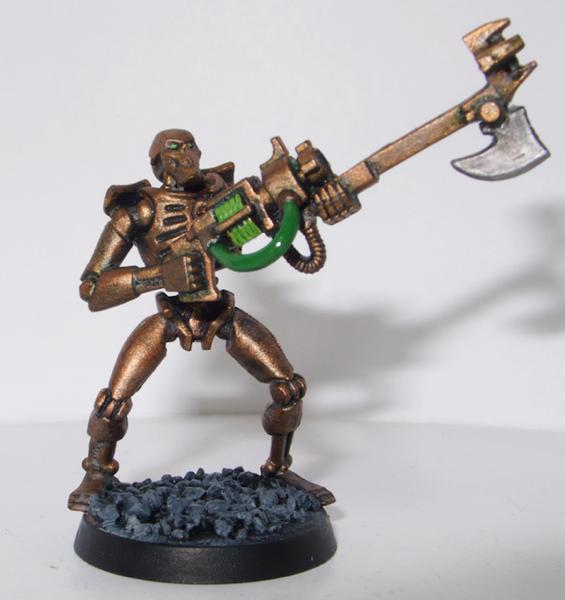
Steps 14-16

Step 17: Once all dry, glue the gauss rods in place (using PVA glue and an old brush).

Step 17 (finished)

Et voilĂ .

September 23, 2009

Bastion (a work in progress)

So I’ve started on my bastions. Progress is very slow but hey, I’ve been on holiday…The bolters: I pierced the tip of the guns first, then undercoated Chaos Black, drybrushed Boltgun Metal, and washed with Badab Black. The tip of the guns were further washed with Devlan Mud, then Badab Black again. Then varnished with Vallejo Matt Varnish.

Heavy Bolter

The gun turrets: Chaos Black undercoat, Boltgun Metal drybrush, and Badab Black wash. Added a bit of detail on the skulls, then Matt Varnish.

Gun turret

Bastion stage one – undercoat of Chaos Black and 2 coats of Catachan Green.

Bastion

Bastion stage two – added a drybrush of Camo Green.

Bastion

Bastion stage three – added a wash with Badab Black. Then sealed with Purity Seal.

Bastion

As I said, it’s in progress… I’ve only completed one section yet.

July 07, 2009

3,000 points

Apocalypse here we come! With the nightbringer painted (plus a monolith I’ve very kindly been offered, but which is not quite finished yet), I‘ve come to:

HQ

The Nightbringer – 360 points

Necron Lord with Warscythe and veil of darkness – 170 points

Destroyer Lord with Warscythe and resurrection orb – 180 points

Troops

40 Warriors with disruption fields – 800 points

Elites

14 Immortals with disruption fields – 420 points

11 Flayed Ones with disruption fields – 231 points

Fast Attack

16 Scarab Swarms with disruption fields – 192 points

7 Destroyers – 350 points

Heavy Support

4 Heavy Destroyers – 260 points

5 Tomb Spyders – 275 points

1 Monolith – 235 points

Total: 3,473 points

July 03, 2009

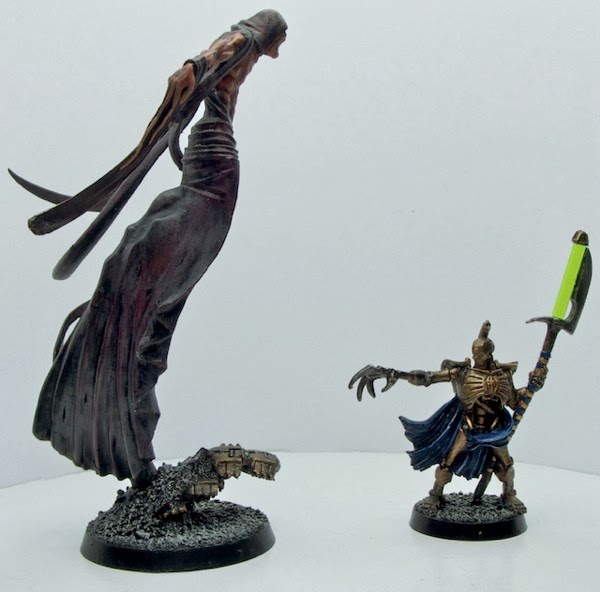
Nightbringer

Finished the Nightbringer at last. I’ve lost count of the number of evenings I’ve been in bed, waiting to fall asleep, trying to figure out how I would paint it (the alternative being thinking about what the next stage of my long-running D&D campaign will be like). All black with grey highlights did not work; a black cloth with white flesh wasn’t appealing either. I’ve ended up with the following:body base-coated with Bleached Bone, with a couple of layers of Gryphonne Sepia washes. Then a quick highlight with Bleached Bone again, and one final, light Sepia wash.cloth undercoated Chaos Black, with first a drybrush of Adeptus Battlegrey, then a drybrush of Scab Red.The base I’d done months back, using my usual scheme - gravel undercoated Chaos Black with a drybrush of Fortress Grey followed by a lighter drybrush of Bleached Bone, and scarabs undercoated Chaos Black, drybrushed Dwarf Bronze, and finally washed Thraka Green. The eyes were done with Scorpion Green.Oh, and the scythe’s blade is not glued on – I’ve used magnets. I could not get the thing to hold on properly with glue, plus being able to remove it makes the mini much easier to store.Now if only I’d properly washed the model before the undercoat, maybe the paint would not flake as much. Hoping the coat of varnish will limit this a bit…
Nightbringer
Nightbringer
Nightbringer
Nightbringer

June 21, 2009

Flayed Ones

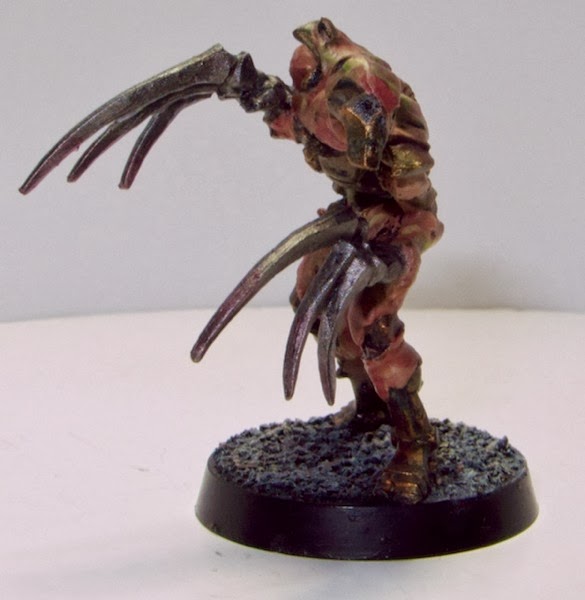
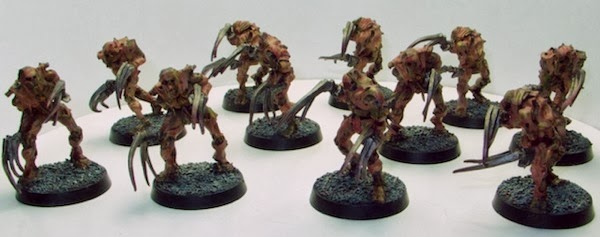
Gosh these took a while to complete. But with them done, I now only need to paint my Nightbringer to get to 3,000 points and be able to participate in the Apoca-Fez game at the end of July.As per them immortals, they came from eBay. I bought twelve of them around Christmas time last year, in several batches. Some claws were missing, so I’ve ended up with only eleven of the little critters. I’ll look into making some additional claws (either casting or building from green stuff or plasticard, not sure yet) at a later time.After the usual “Age of Bronze” treatment, I painted the fleshy parts with a basecoat of Tallarn Flesh, followed by little marks of Rotting Flesh. To add an overall feeling of decomposition, I added patches of various washes - Thraka Green for moldy bits, Ogryn Flesh for dried blood, and some Baal Red for fresher blood. I painted over the chest symbols with Burnished Gold as per usual, however left the eyes as-is – they’re very receded and I was unsuccessful at spotting them with Scorpion Green.The claws were painted sepately at first (Chaos Black undercoat, then a coat of Boltgun Metal). I glued them on once the bodies were fully painted, touched them up with Boltgun Metal, then washed with Badab Black. I them added Mithril Sliver to the bottom of the blades, and a bit of Baal Red wash on the tips. I finally varnished the lot with Vallejo’s matt varnish (Model Color range).

Flayed One

Flayed One

Flayed One

Flayed One

Flayed Ones

Immortals

I’d done these a while back, but did not take pictures at the time. I got all of them on eBay, cleaned and dis-assembled them, and then gave them my regular “Age of Bronze” Necron treatment: Chaos Black undercoat, then a dry brush of Dwarf Bronze, followed by a wash of Thraka Green. The eyes were done with Scorpion Green, the chest symbols with Burnished Gold. The bases are black, with a dry brush of Fortress Grey followed by a dry brush of Bleached Bone. I painted the bodies and weapons separately, and glued them together last.

Immortal

Immortal

Immortal

Immortal

Immortals


June 20, 2009

Planetstrike preview

Went to the FLGS yesterday to play a game of Planetstrike. There must have been about 15 of us around the table, playing either defender or attacker. The game was brutal on both sides, quite chaotic, and very good fun – even though the two units I deep-striked got flattened very quickly indeed (beware the defender’s missile launchers - large blast template, Str 9 and AP 3 make mince-metal out of freshly deep-striked immortals…). But hey, we (the attackers) won the day regardless, with two of the three objectives (bastions) utterly destroyed and then successfully contested.