Showing posts with label Magnets. Show all posts

June 15, 2014

Filla-Glu's Powda and Wicking glue

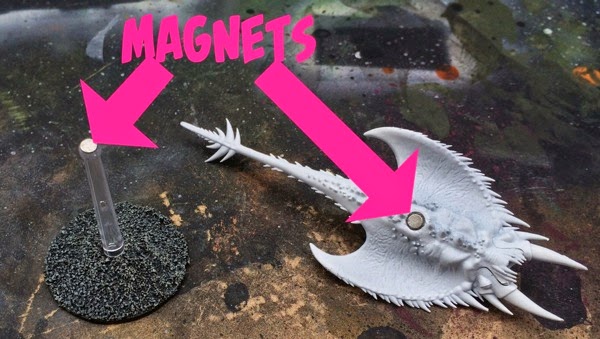
Still no battle reports, I know… I did have a game planned for today, but the weather was quite dodgy this morning so, being cautious and all, we decided to cancel. In the end it did not rain in the afternoon, and I managed to squeeze in a bit of hobby. Among other things, I magnetised my canoptek acanthrites (still a work in progress, paint-wise) and my recently acquired Screamers of Tzeentch to their bases. The goal being for them to be easier to store. Plus, magnets.

As these models have balltop flying stems on their bases, and so nice large holes on the models themselves, I decided to have a go with Filla-Glu’s Powder and Wicking glue kit.

Filla-Glu

It’s all quite simple. Below is an acanthrite, with the hole for the base’s stem in its chest. 

2014-06-15 17.20.22 HDR.jpeg

 Step 1: pour the powder into the hole.

2014-06-15 17.20.37 HDR.jpeg

 Step 2: push the magnet in. It’s powder, so it’s easy to push it in.

2014-06-15 17.21.06 HDR.jpeg

Step 3: add a drop of wicking glue. The stuff is super thin, and binds everything together instantly. 

2014-06-15 17.21.23 HDR.jpeg

Step 4: use regular super glue to add a magnet to the base. I flattened the stems first (using a Dremel because I am lazy, but clippers and files should do just as well). The one below is slanted, as an horizontal one resulted in a seriously nose-diving acanthrite.
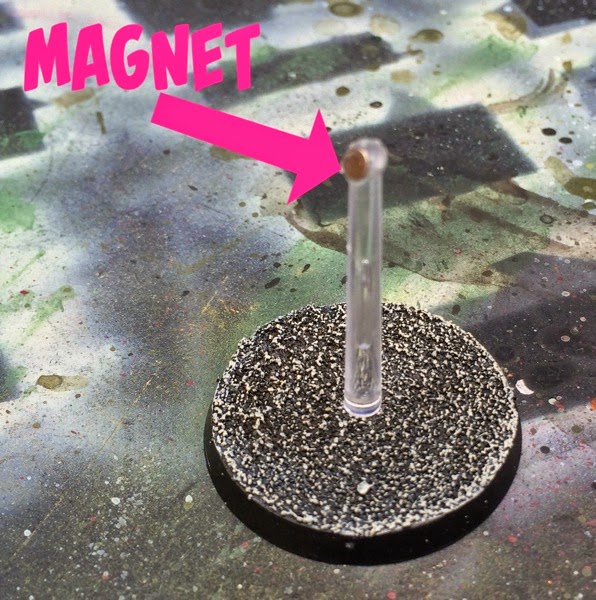
The base

 Finished!

Finished

And here is the same on a screamer: 

2014-06-15 17.24.53 HDR.jpeg

2014-06-15 17.25.01 HDR.jpeg

April 06, 2014

Quick magnet tip


I have started (at long last) assembling my 4 Necron Ghost/Doomsday Arks. They will be fully magnetised of course (thank you Nick Beer for the tutorial).

 A quick tip for glueing magnets in series: use a larger/different magnet as a reminder of which side is not to be glued.

  1. Glue magnets to the first series of components in one go (in my case the gauss flayer’s supports).
  2. Put the “magnet handle” on the other side of the magnet stack (or, if using another type of magnets, plop them onto the other side of the handle).
  3. Glue the magnets to the second series of components (in my case the gauss flayers).

This solves the problem of mixing polarities and having to fix things later. Been there, done that, did not like it one bit.

Magnet tip

Magnet tip

Magnet tip

Magnet tip

Magnet tip


Magnet tip

March 16, 2014

Playing with magnetite

As much as I like magnets, sometimes they’re a bit annoying to use. I have been assembling a fleet for Dystopian Wars (Vive la République!), and fitting magnets to the tiny gun turrets looked like too much hassle. Enters magnetite. I bought a bag of it on Amazon a while back, and today I put it to good use:

plenty of the stuff

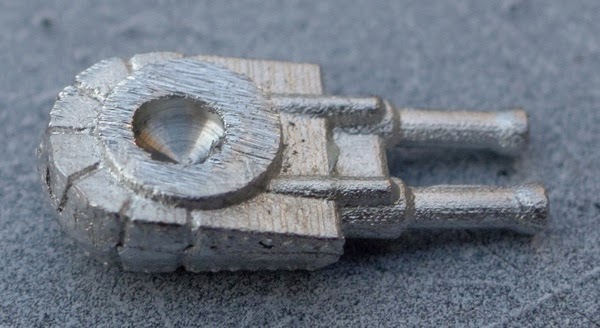
Step 1 - drill a hole.

step 1

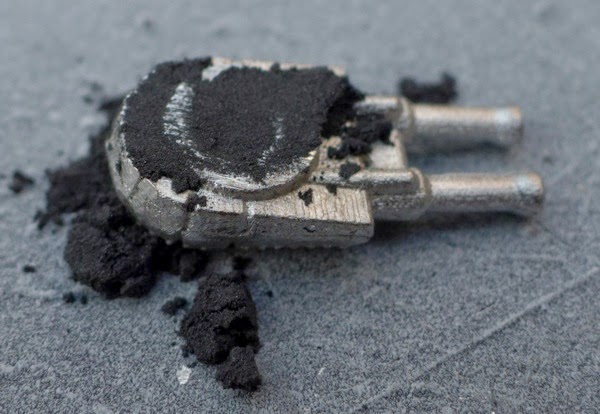
Step 2 - add magnetite (yes, I am just as messy when I brew coffee).

step 2

Step 3 - press down, and gently remove excess using a paintbrush.

step 3

Step 4 - add superglue and wait for it to dry.

step 4

It holds! Result! (obviously, there is a magnet fitted inside the hull, but that one was easy enough to install).

result

December 23, 2009

Leman Russ Demolisher Punisher Executioner

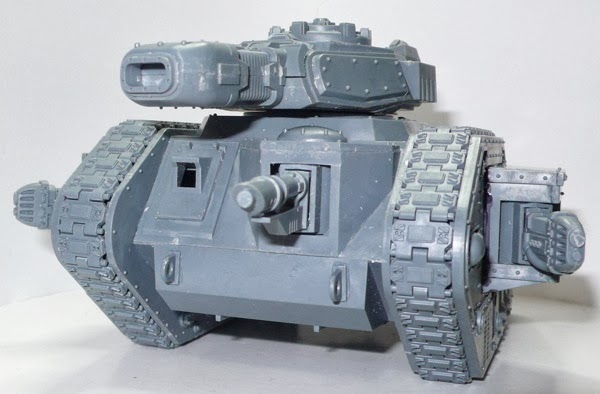
So, I've got a new toy. It's a Leman Russ Demolisher:

Leman Russ Demolisher

It's also a Leman Russ Executioner:

Leman Russ  Executioner

And, well, it's a Leman Russ Punisher too:

Leman Russ Punisher

Or to put it another way, I've been busy with magnets. As per before, I got them from http://www.powermagnetstore.com. I used 1/8" x 1/16" discs.

First I dealt with the turret: I pierced the hinge of the door, and slid a piece of .8mm brass rod in, so the top could be opened and closed. I then glued a piece of plasticard to the bottom of the hatch.

Turret

I assembled the tank commander and sawed off the sides so it could fit in the turret. I then pierced two holes in the base and glued magnets in there. I put a dab of paint on both magnets (Macharius Solar Orange, as it's nicely thick and bright), and gently pressed the commander in the hatch. With that done I had nice dots on the plasticard. Two more holes through the dots and I had magnets glued in place.

Commander

Then it was time for the main guns. One magnet in the base, a spot of paint again, and I pressed all three main guns in turn against it (note that I filled the hole in the base of the Punisher cannon with green stuff first).

Main gun

So now I had 3 magnetised main guns:

3 main guns

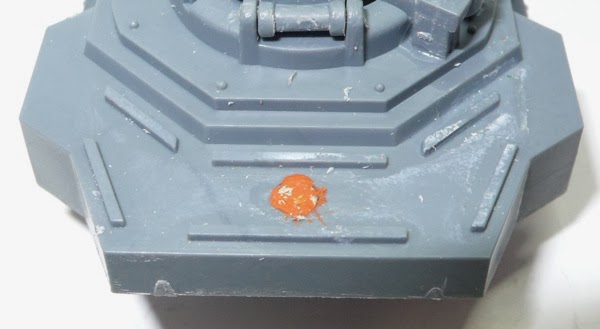
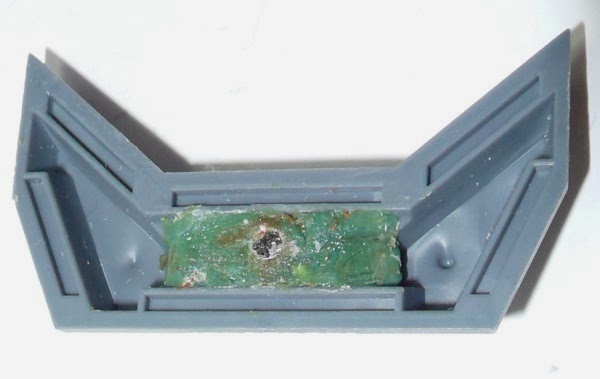
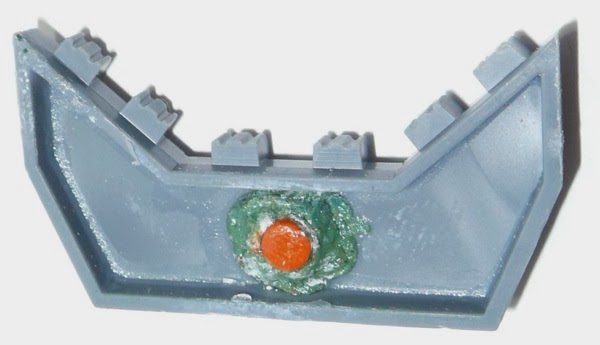
It was time to deal with the rear of the turret - same story as before, holes, paint and green stuff:

Rear of the turret

Rear of turret

(note the magnet used above is a 2 x 1mm disc)

Rear of turret

Here is the result:

Result