Last week I attended an all-day airbrush training session, organised by the good folks at SnM Stuff and taught by airbrush maestro Brian Best from Anarchy Models. The morning was spent on the basics: how to set things up, what to do and what not to do. It became very clear very quickly that practice, and lots of it, is the way forward. The afternoon concentrated on using Brian’s stencils.
Forward one week, and as the weather was nice outside it was time to train some more (for reasons that I do not pretend to fully understand, the practice of airbrushing inside the house is frowned upon by my lovely wife).
I could have done some more basic training painting dots and lines, but that’s boring and I went straight to the stencils (very important note: I do need to do the dots and lines exercices, many times over!).
I happen to own a number of Imperial Guard tanks, which I’ve never painted. The trouble was, I’d decided a long time ago that I wanted to use an urban camouflage pattern on them, however I never had the energy to deal with all the tape handling (or manual stencil cutting) this would have required. Skip a few years, and Brian does his stencils KickStarter. I had no excuse anymore.
I picked the shattered stencil, and got started on some bits from my super-heavies. I wanted to check the quality of the stencil, especially how well it would stretch and stick around detail - can you say rivets?
I am a lazy git, so my scheme will be 3 colours only: black, grey (Vallejo US Grey) and light grey (Vallejo USAF Light Grey).
Below is what I did:
Step 0 - airbrush black primer on all the parts (they had already been primed with Games Workshop’s Chaos Black spray, but as I expected to have to do retouching down the line, I wanted to make sure to be able to match the blacks).
Step 1 - place the small-sized stencils on the parts. The idea is that what’s covered will end up being black in the finished model. I made sure I half-covered some rivets and aquilas with the stencils, again to check the stencil’s quality and the potential bleed. Brian’s tip: use your thumbs to press the stencils down firmly. Brian has the strength of Hercules in his thumbs. I don’t, but I did try hard. It will become very clear that the more care is taken at this stage, the better the final result will be.
(note: after a first try, where the parts flew all over the place under the airbrush’s air pressure, I had another go, this time with everything Blu-tacked to the board)

Step 2 - airbrush the first grey, basecoat style. No subtlety here.

Step 3 - after the paint has dried, stick on the large-sized stencils on. It’s fine to overlap on the previous ones. Again, make sure all are pressed down firmly. I must admit I wasn’t as careful this time as I was in step 1.

Step 4 - airbrush all again, this time using the light grey.

Step 5 - once dry, remove the stencils carefully, and admire the results.

So, how did it all go? Well, not bad at all. As I’ve mentioned above, it is essential to take care when applying the stencils but it you take the time, the results rock: just look at the details below, all without unsightly bleed (note the picture is a bit crappy as I had to enlarge it).
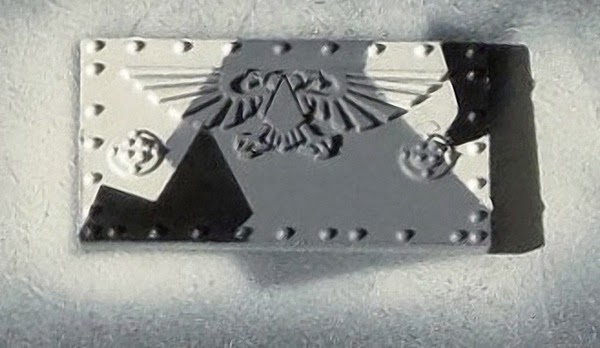
This one shows how it all works nicely, even with the stencils’ border running across rivets:

If, however, the stencils are not stuck carefully enough, or allowed to kink, this is what happens:

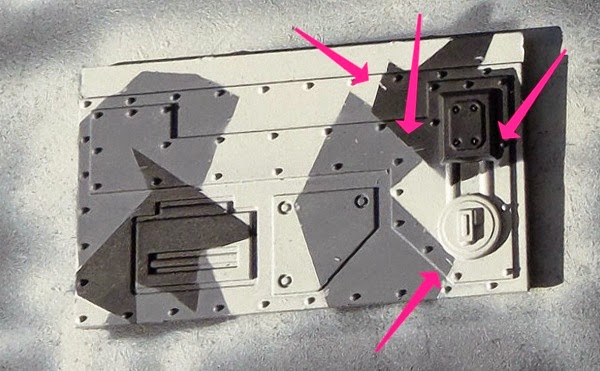
Not a major issue (and certainly one entirely of my own doing); a few quick patches with a regular paintbrush should sort these out.
Here is a quick look at the result so far:

And in final news, I currently have a non functioning airbrush, which will happily blow air but no paint. No idea what’s wrong. I have been told that taking a hammer to it is not the wisest course of action, but it might yet come to that.


